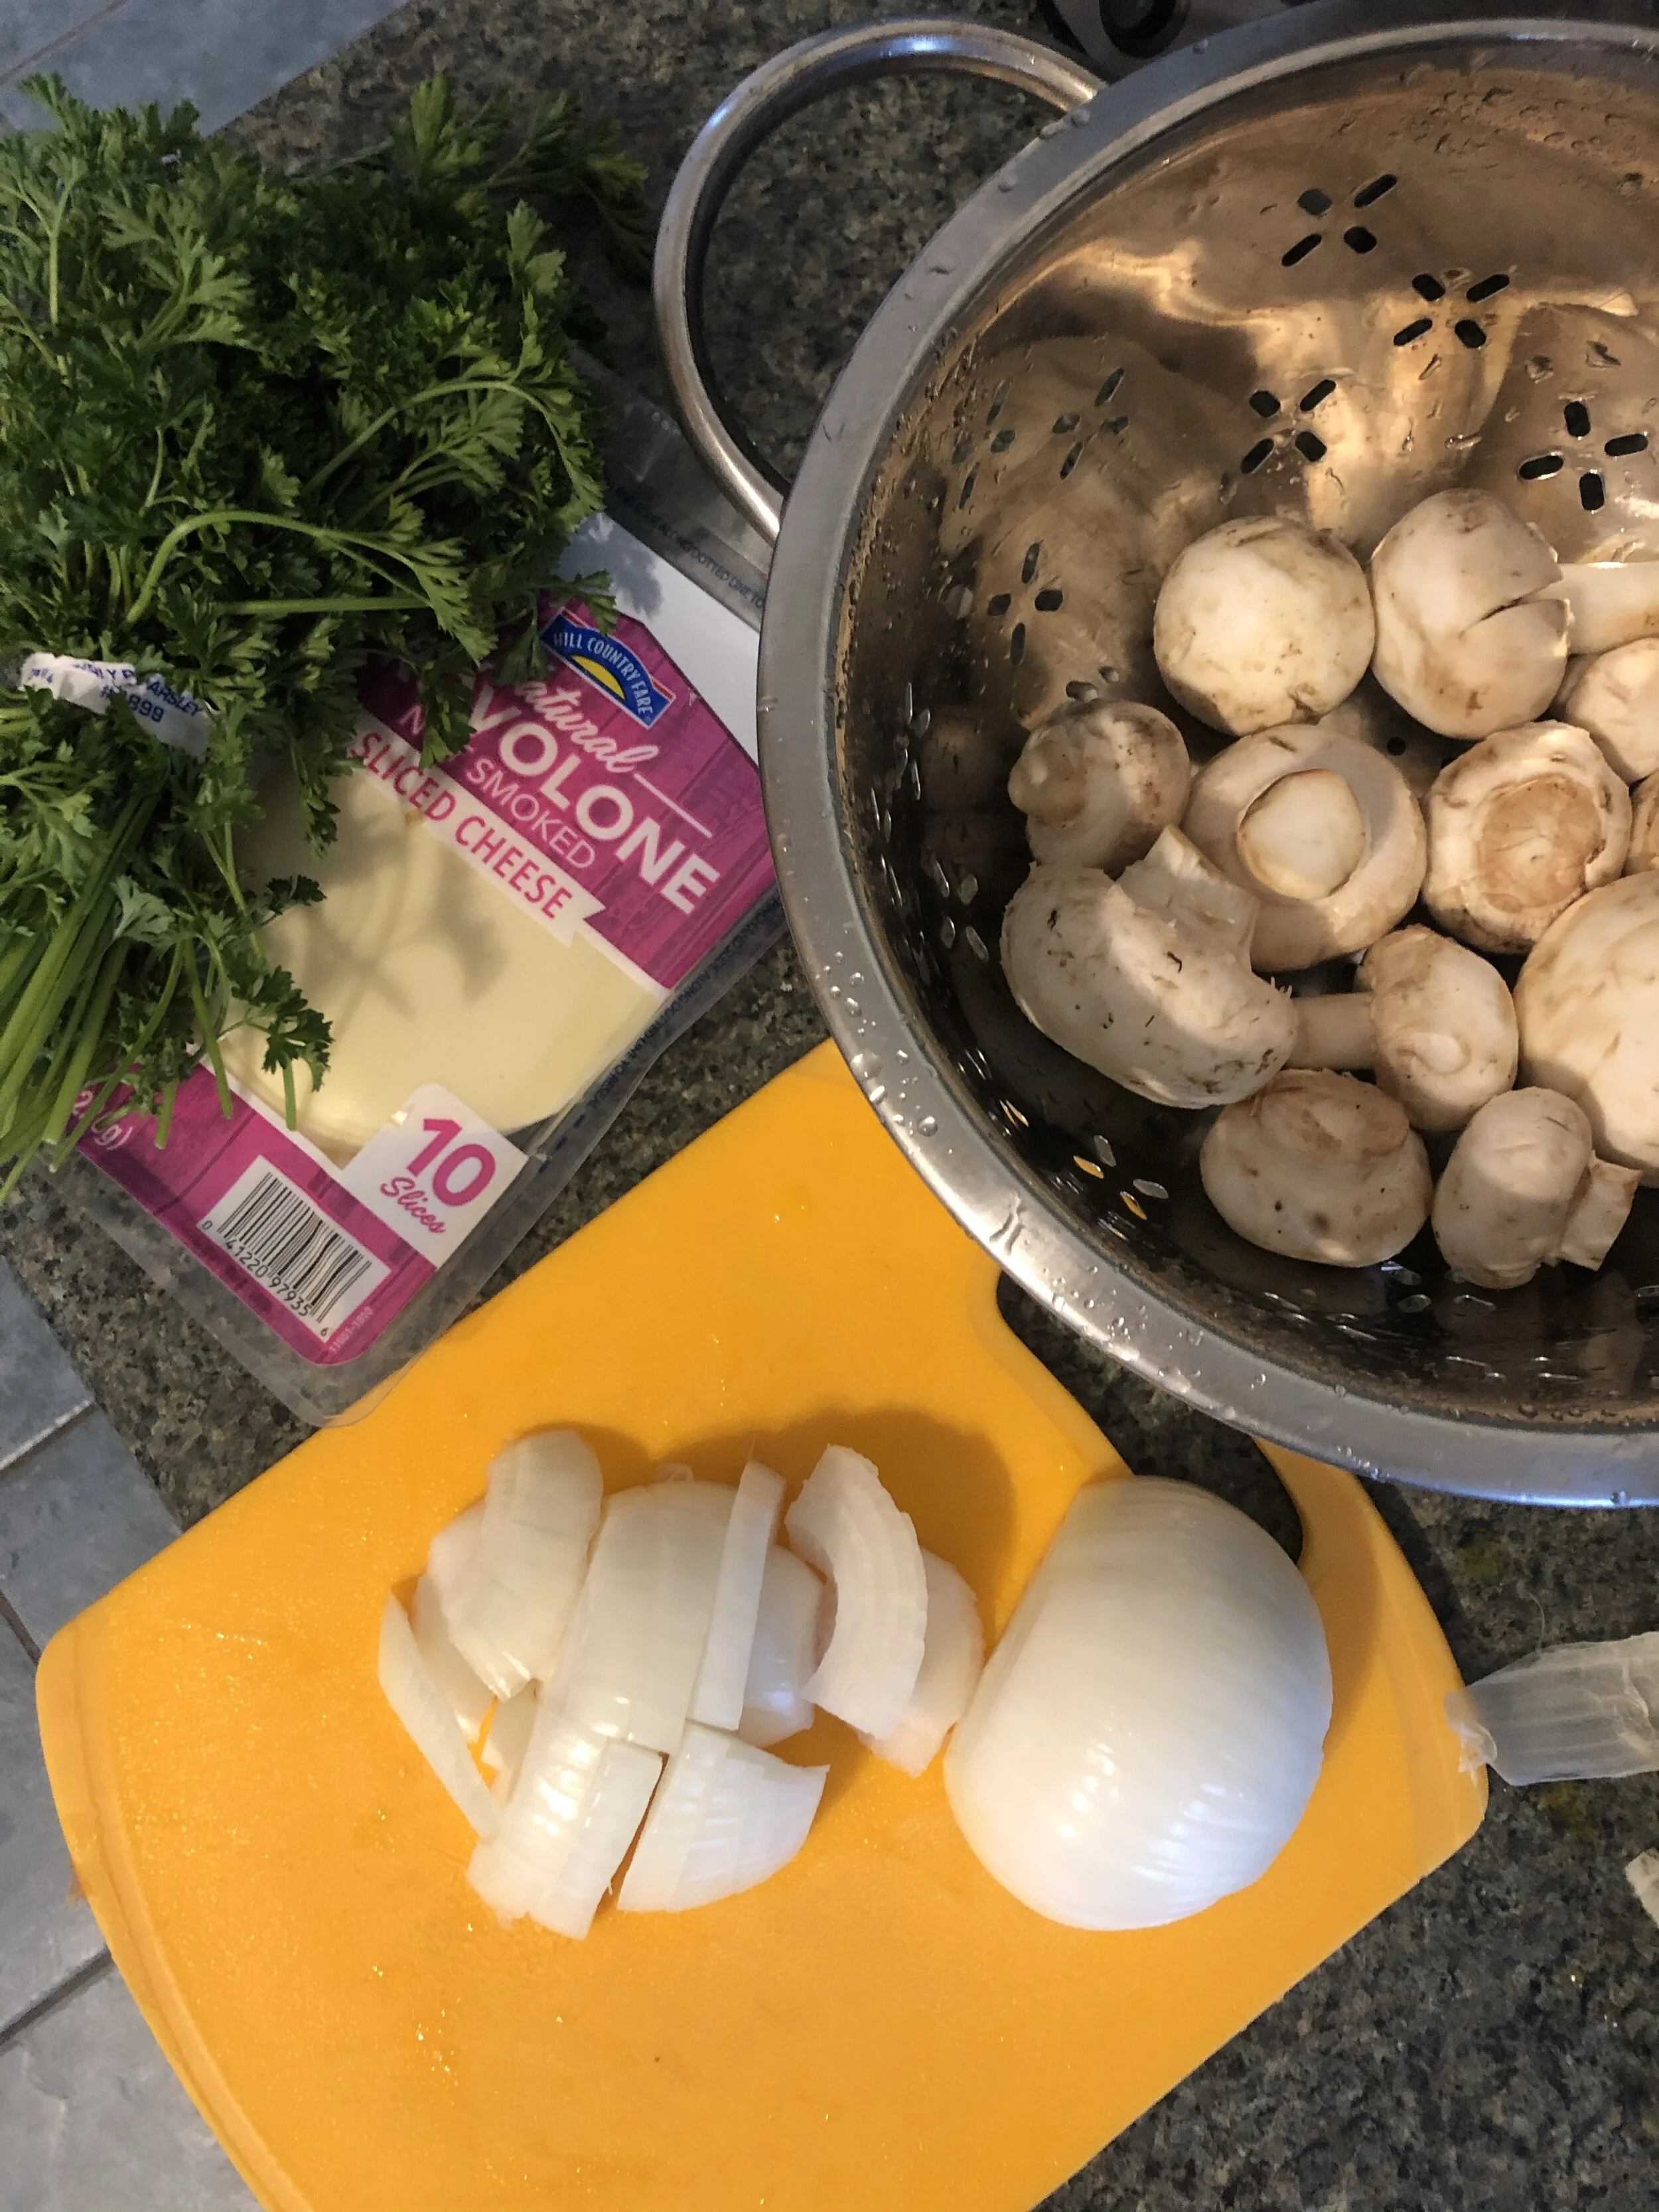
My Blog

Category: Recipes

  • Lemon Garlic Chard

    Lemon Garlic Chard

    Servings: 2

    Ingredients

    • 1 bunch swiss chard

    • 1 tbsp olive oil

    • 4 cloves garlic

    • Red pepper flakes (to taste)

    • Salt and Pepper (to taste)

    • 1 tablespoon lemon juice

     Lemon Garlic Swiss Chard Saute in Bowl
    Lemon Garlic Swiss Chard Saute in Bowl

    Directions:

    1. Wash the chard and trim ends of stems.

    2. Cut stems out of chard leaves and make two piles; one with stems and one with leaves.

    3. Rip chard leaves into 2” pieces, cut stems into 1” pieces.

    4. Peel 4 cloves of garlic and slice thinly.

    5. Heat olive oil in a medium-sized pan over medium-low heat, add garlic, salt, pepper, and red pepper flakes. Cook until garlic is lightly brown about 2 minutes.

    6. Add in chard stems and cook until softened, 4 minutes.

    7. Add in chard leaves and lemon juice. Cook about 1 minute until leaves are wilted.

    8. Enjoy as a side dish with chicken, steak, beef, eggs, or any other protein!


    Recipe inspired by Bon Appetit.. Prepared by Tillie Geyer September 2020. UTMB Dietetic Intern Fall 2020. 

    Nutrition facts: serving size: 1/2 cup, calories: 113, total fat: 7 grams, carbohydrates: 11.2 grams, dietary fiber: 2 grams, protein: 5 grams

  • Cinnamon Apple Oatmeal

    Cinnamon Apple Oatmeal

    Servings: 3

    Serving size: 1 cup

    Ingredients

    • 2 cup rolled oats

    • 2 cup unsweetened almond milk

    • ½ tbsp of butter

    • ½ diced apple

    • 1 tsp cinnamon

    • 1 tbsp honey


    Directions:

    1. Heat pot and simmer (low heat) diced apples with butter, then add cinnamon and honey; occasionally stir for 2-3 minutes or until apples soften and juices thicken.

    2. Once apples brown with cinnamon, add milk and oats, cook at medium heat and stir occasionally for 5-7 minutes until thickened.

    3. Enjoy!


    Recipe by Liliana Torres. Prepared by Liliana Torres September 2020. UTMB Dietetic Intern Fall 2020. 

    Nutrition facts: serving size: 1 cup, calories: 274, total fat: 7 grams, carbohydrates: 47.3 grams, dietary fiber: 7 grams, protein: 7.3 grams

    Nutrition facts provided by: U.S. Department of Agriculture, Agricultural Research Service. FoodData Central, 2019. fdc.nal.usda.gov.

  • 5 Cooking Techniques & How to Use Them

    5 Cooking Techniques & How to Use Them

    Now that you’ve picked up your fresh, locally-sourced foods from Galveston’s Own Farmers Market and chosen a new recipe to try, what do you do when your recipe uses unfamiliar cooking methods, like “searing” and “cutting paysanne”? Not to worry, even the world’s most experienced chefs had a point in their lives when they were unsure of how to braise and blanch.

    Cooking methods like flambe’, where you literally set your food on fire, can be a bit scary and not very practical for every day use, so it was decided that demonstrating more commonly used methods would be most helpful for anyone just starting out on their cooking journey. The video below shows how to perform the following 5 cooking and cutting techniques: Chop an Onion, Oven-roast Vegetables, Saute’ Vegetables, Sear a Roast, and Cut Paysanne. Step-by-step instructions for each technique are also listed below and each set of instructions has notes with various tips included.

    Watch the video tutorial here!

    Chopping an Onion

    **Note – Be sure to use a sharp knife. Sharp knives require less force from your hand to cut through vegetables, which reduces the risk of your hand slipping down the knife. A yellow onion was used for this demonstration

    1. Cut the onion in half from root to stem, then cut the stem end off of the onion.

    2. Peel off the thin, papery, outer layer of the onion and place one half of the onion cut-side down on the cutting board.

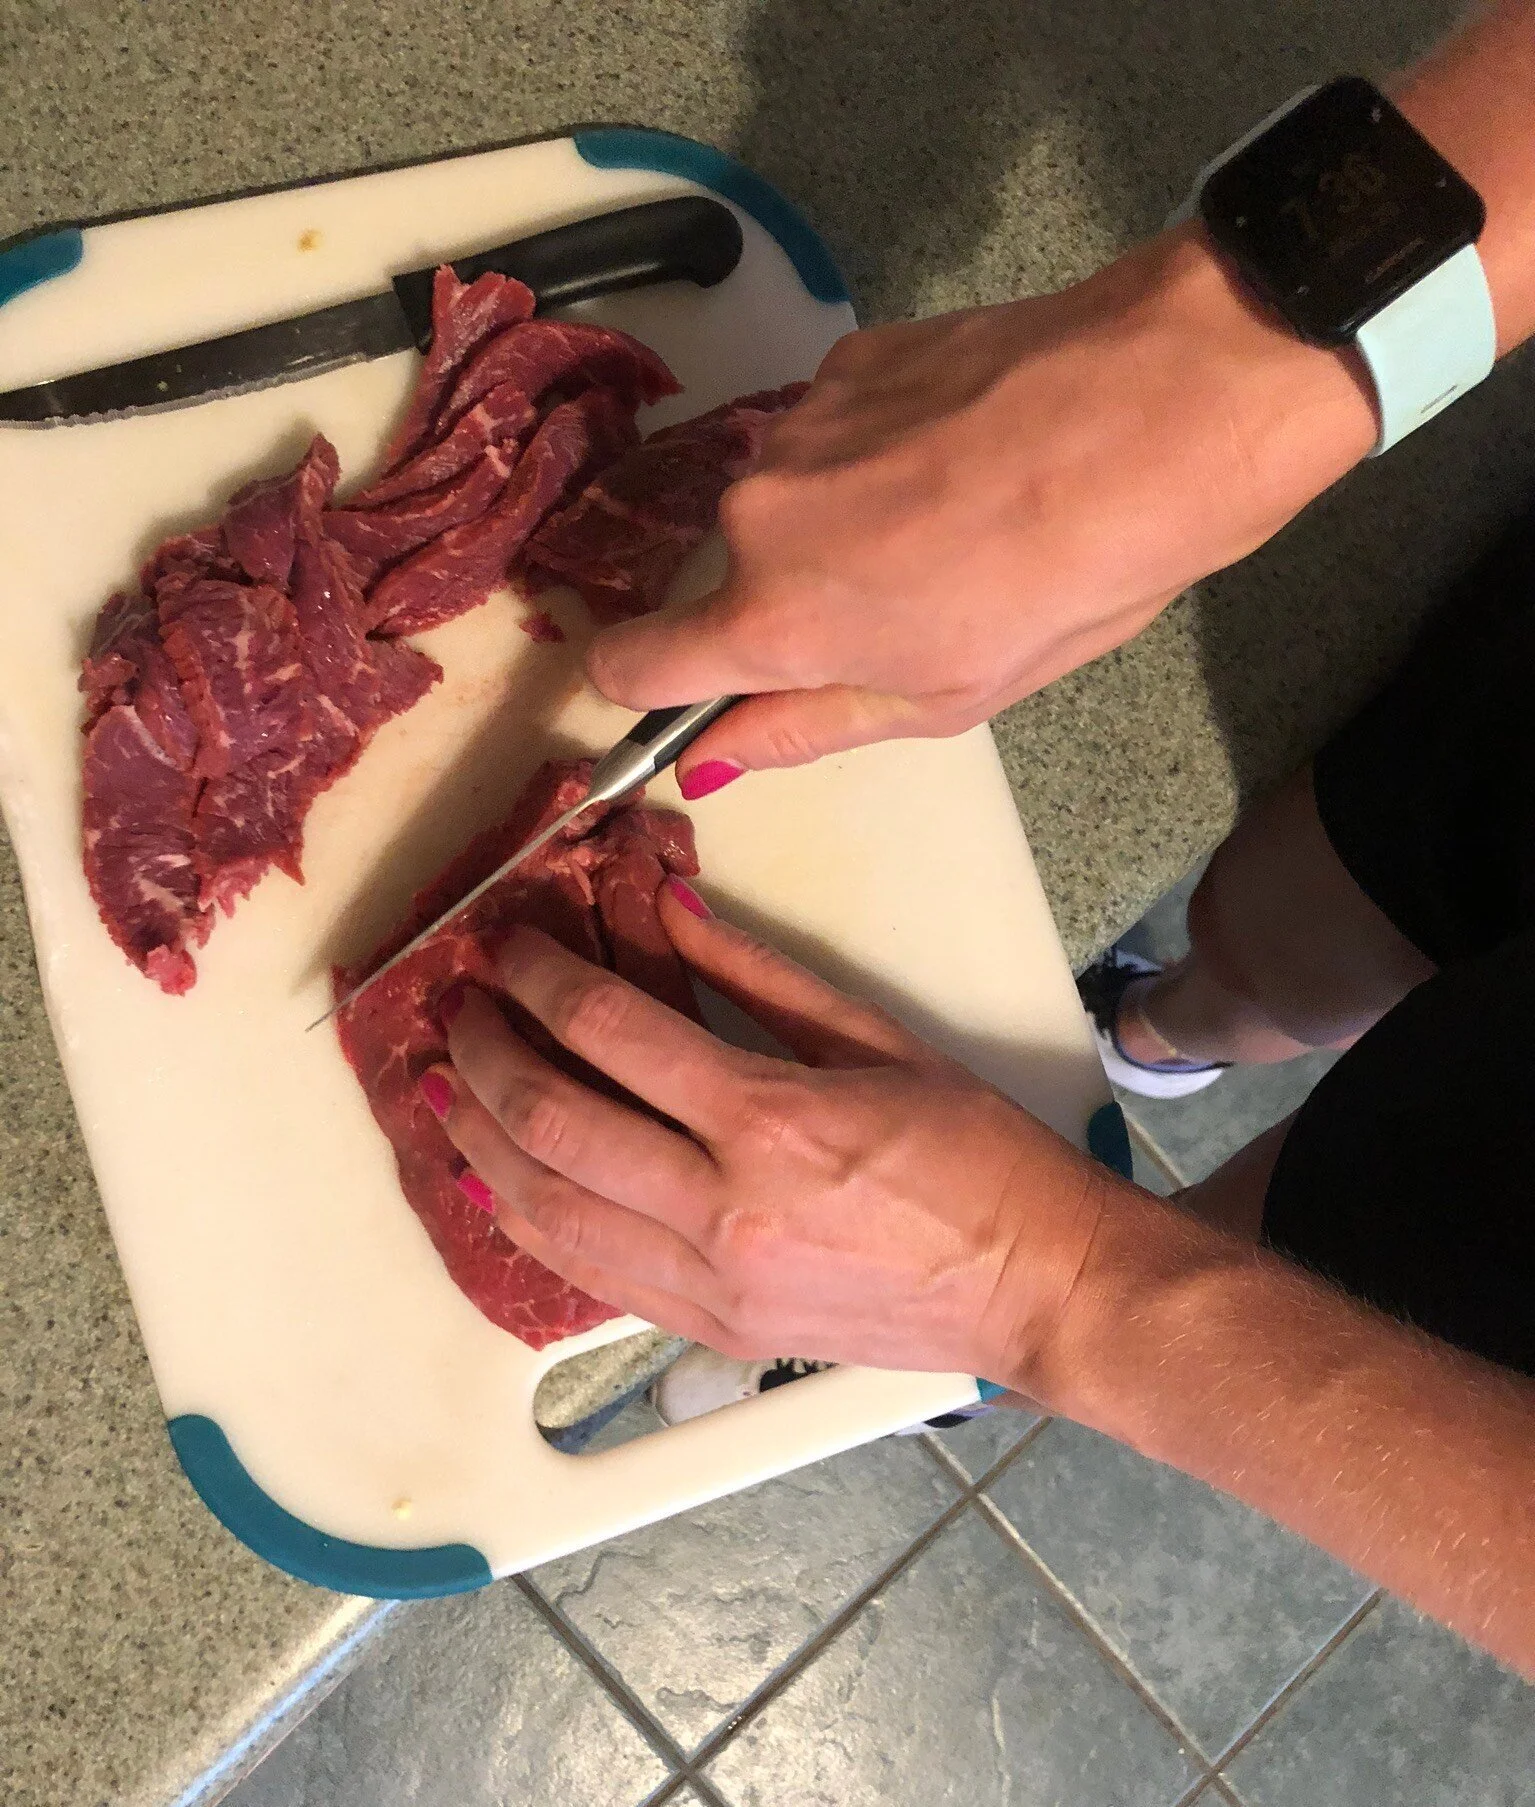
    3. Hold onion with fingers in a claw like fashion to avoid cutting your fingers and hold the knife in your other hand.

    4. With the tip of the knife towards the root, make even cuts down through the onion, but without cutting all the way through the root end.

    5. Turn the onion and make slices the opposite direction, from one side to the other.

    6. Your onion is now chopped or diced.

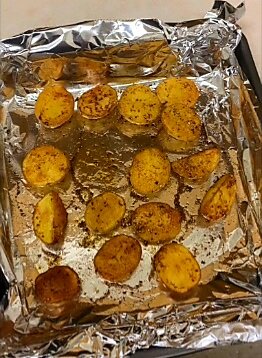
    Oven-roasting Root Vegetables

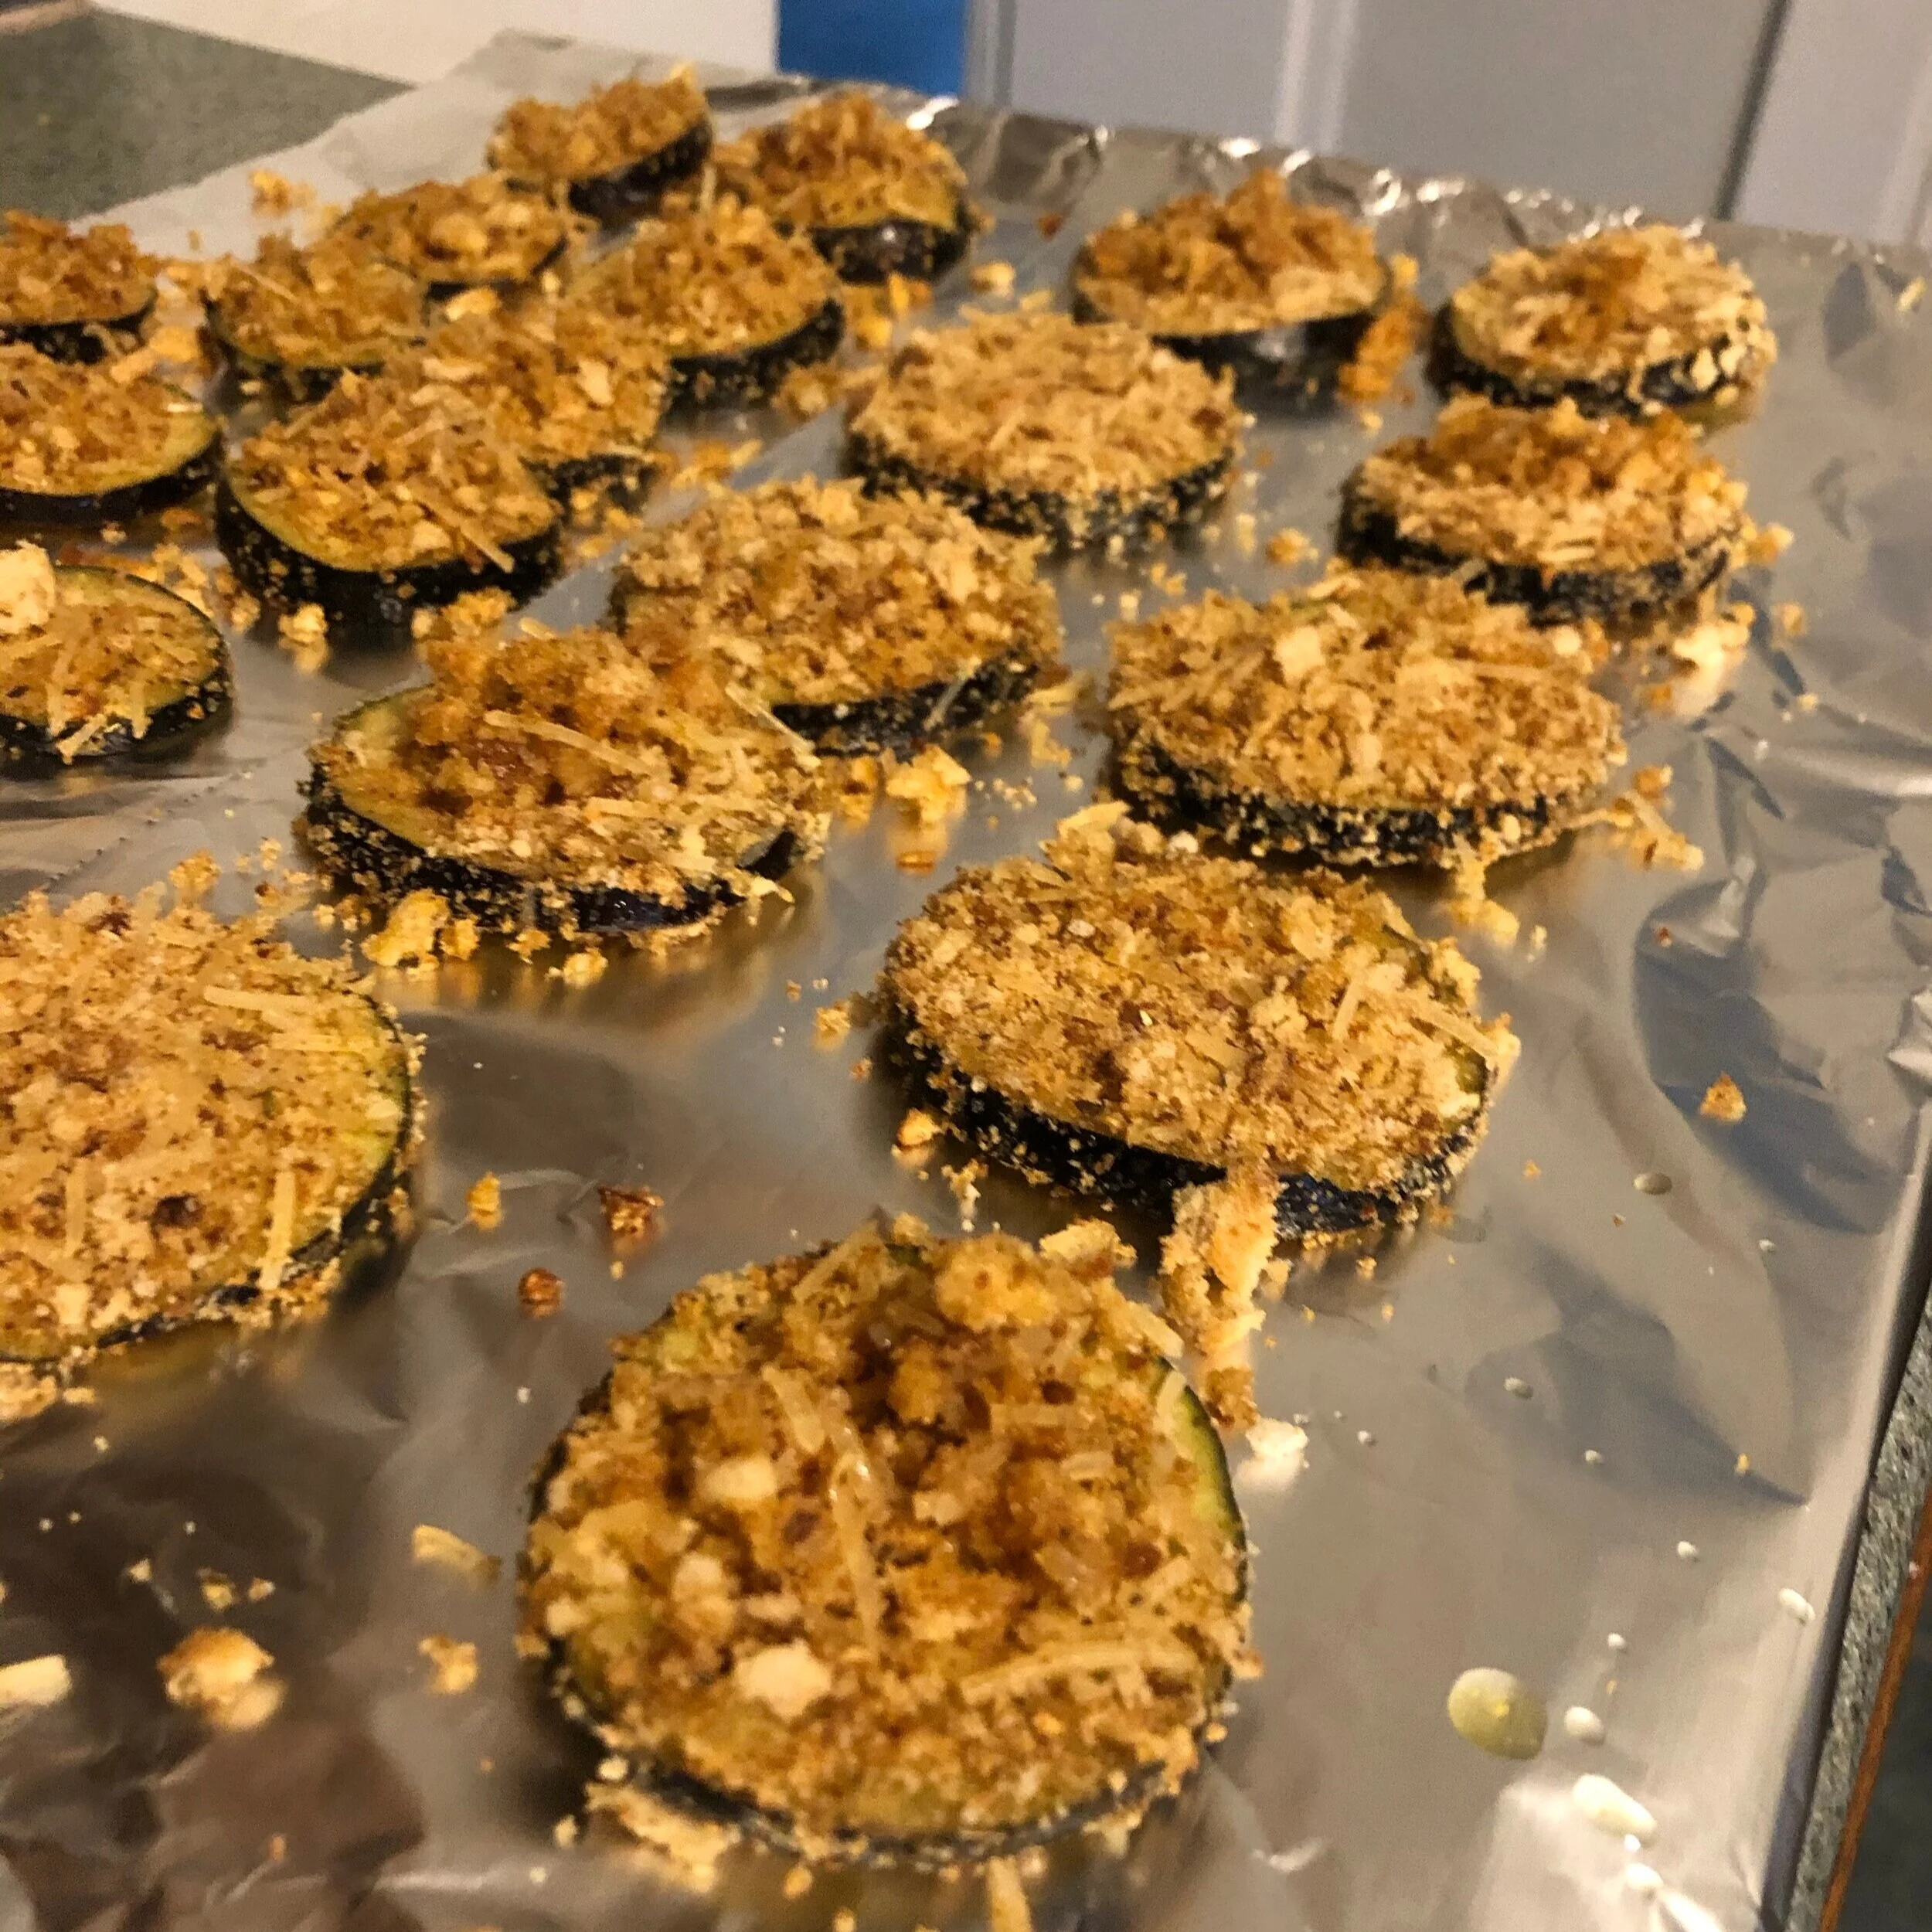
    **Note- Many different vegetables can be roasted in the oven; you just need to adjust the cooking time and temperature based on the vegetable. Harder vegetables like butternut squash will take longer to cook than softer vegetables like zucchini or eggplant. Yukon Gold new potatoes were used for this demonstration.

    1. Preheat oven to 400 degrees.

    2. Cover baking sheet in tin foil and cut your vegetables into smaller pieces to reduce the amount of time it takes them to cook. (If using small potatoes, also called “new potatoes”, you can cut them in half. If using carrots, you can cut them into pieces about 2 inches in length and then cut them in half.)

    3. Place cut vegetables onto the foil-lined baking sheet and drizzle with olive oil to keep them from sticking to the foil. Sprinkle with seasoning of your choice. I use salt, pepper, paprika, and parsley flakes.

    4. Stir the vegetables to cover them evenly with oil and seasonings, then make sure they are in a single layer on the pan. Place into the pre-heated oven to cook for 20 minutes.

    5. Carefully remove the pan from the oven using a potholder or oven mitt and use a spatula or spoon to turn the vegetables over.

    6. Place the pan of vegetables back in the oven for another 20 minutes. After 20 minutes, remove them from the oven.

    7. Your vegetables are now ready. If you like the vegetables to be crispier, you can cook them a few minutes longer.
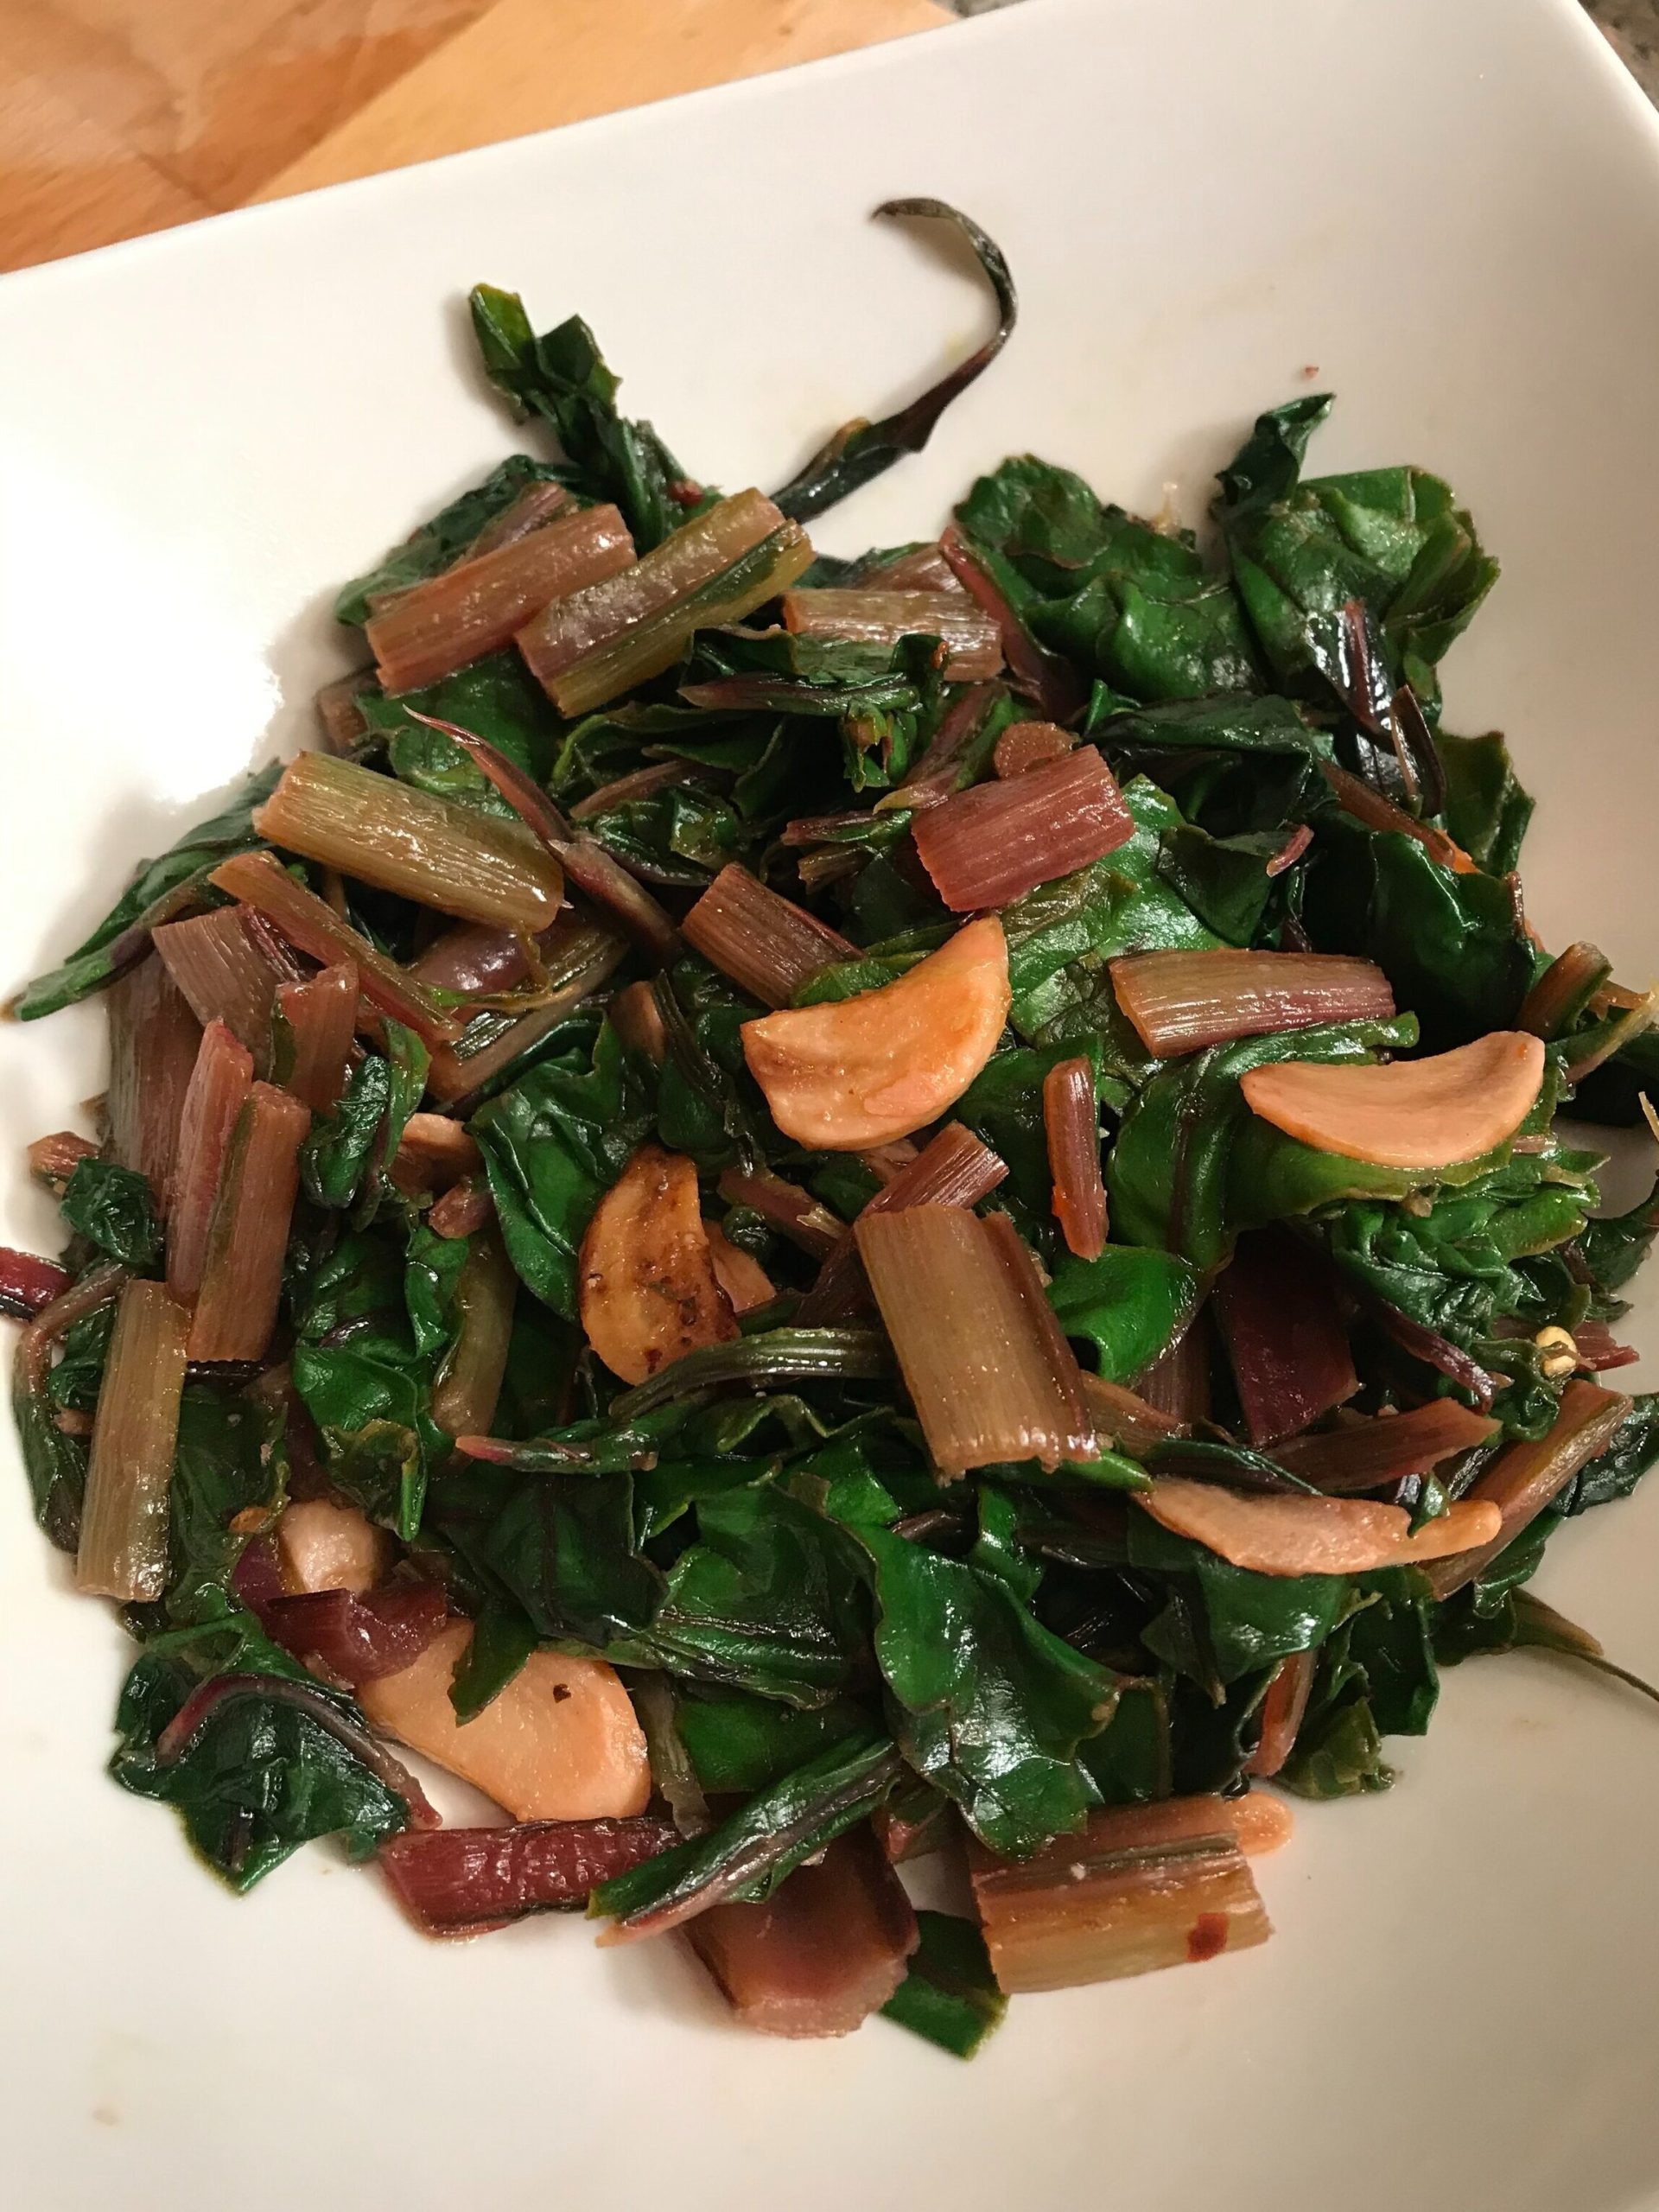
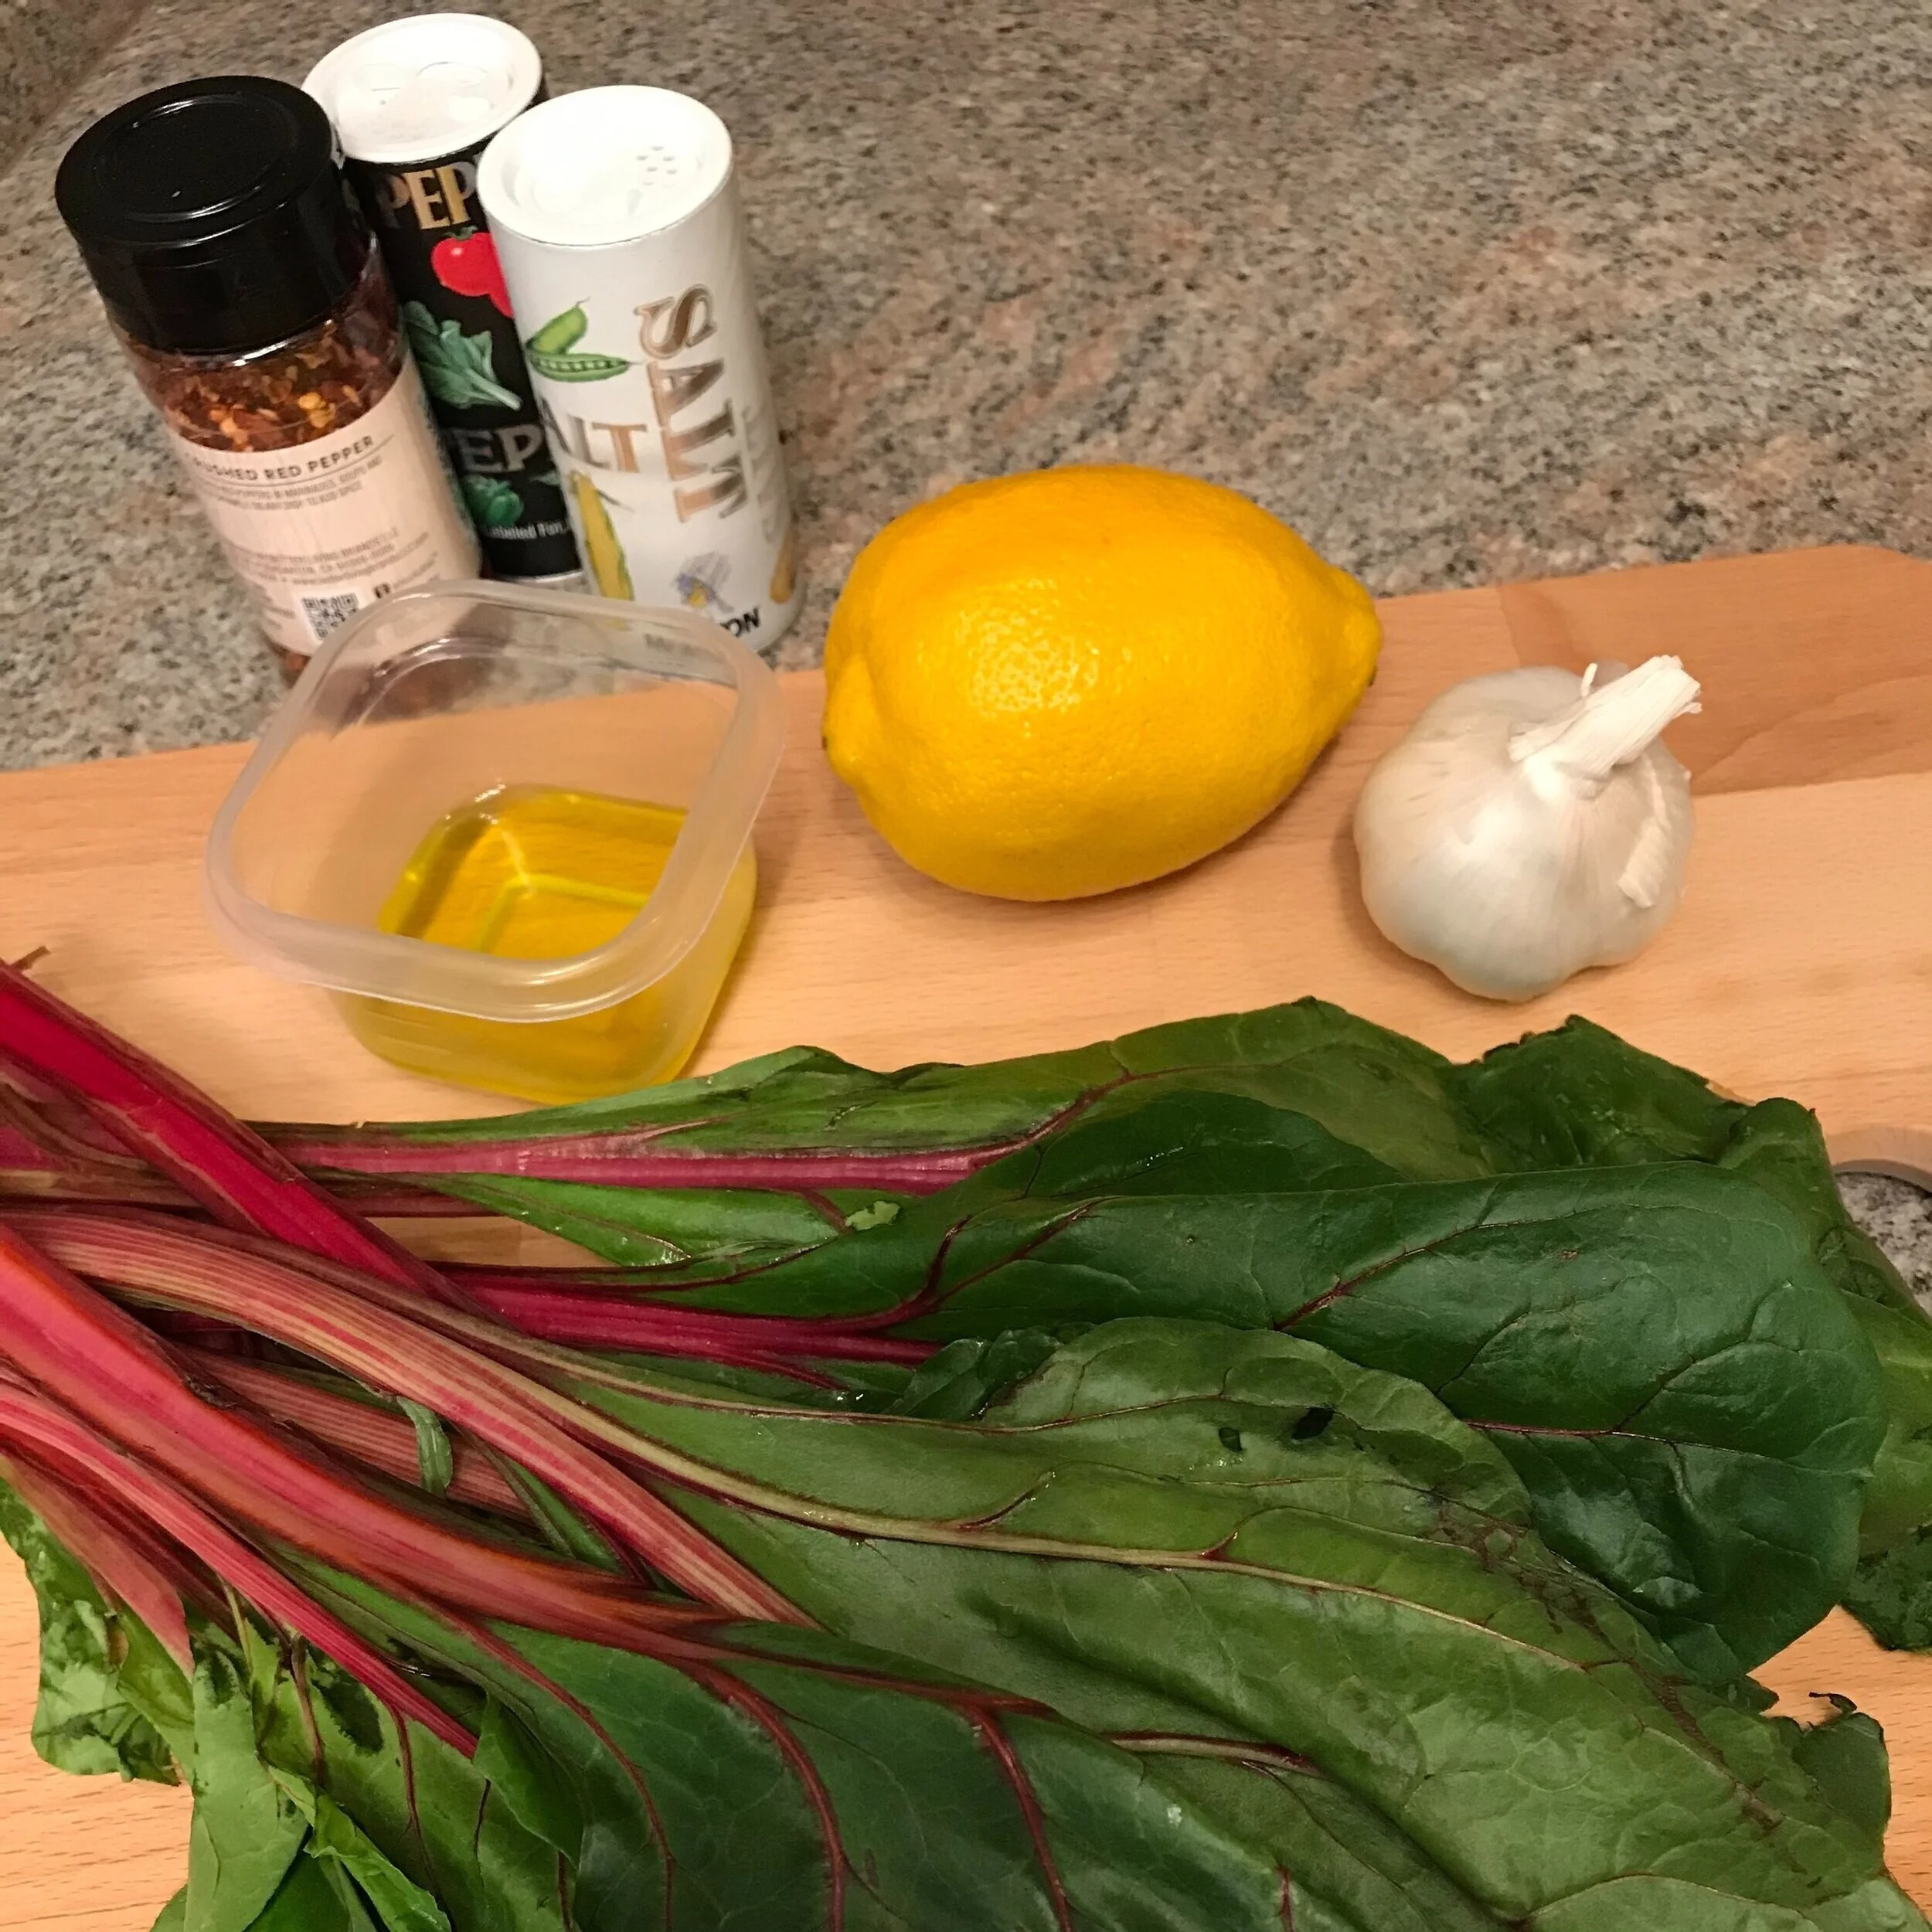
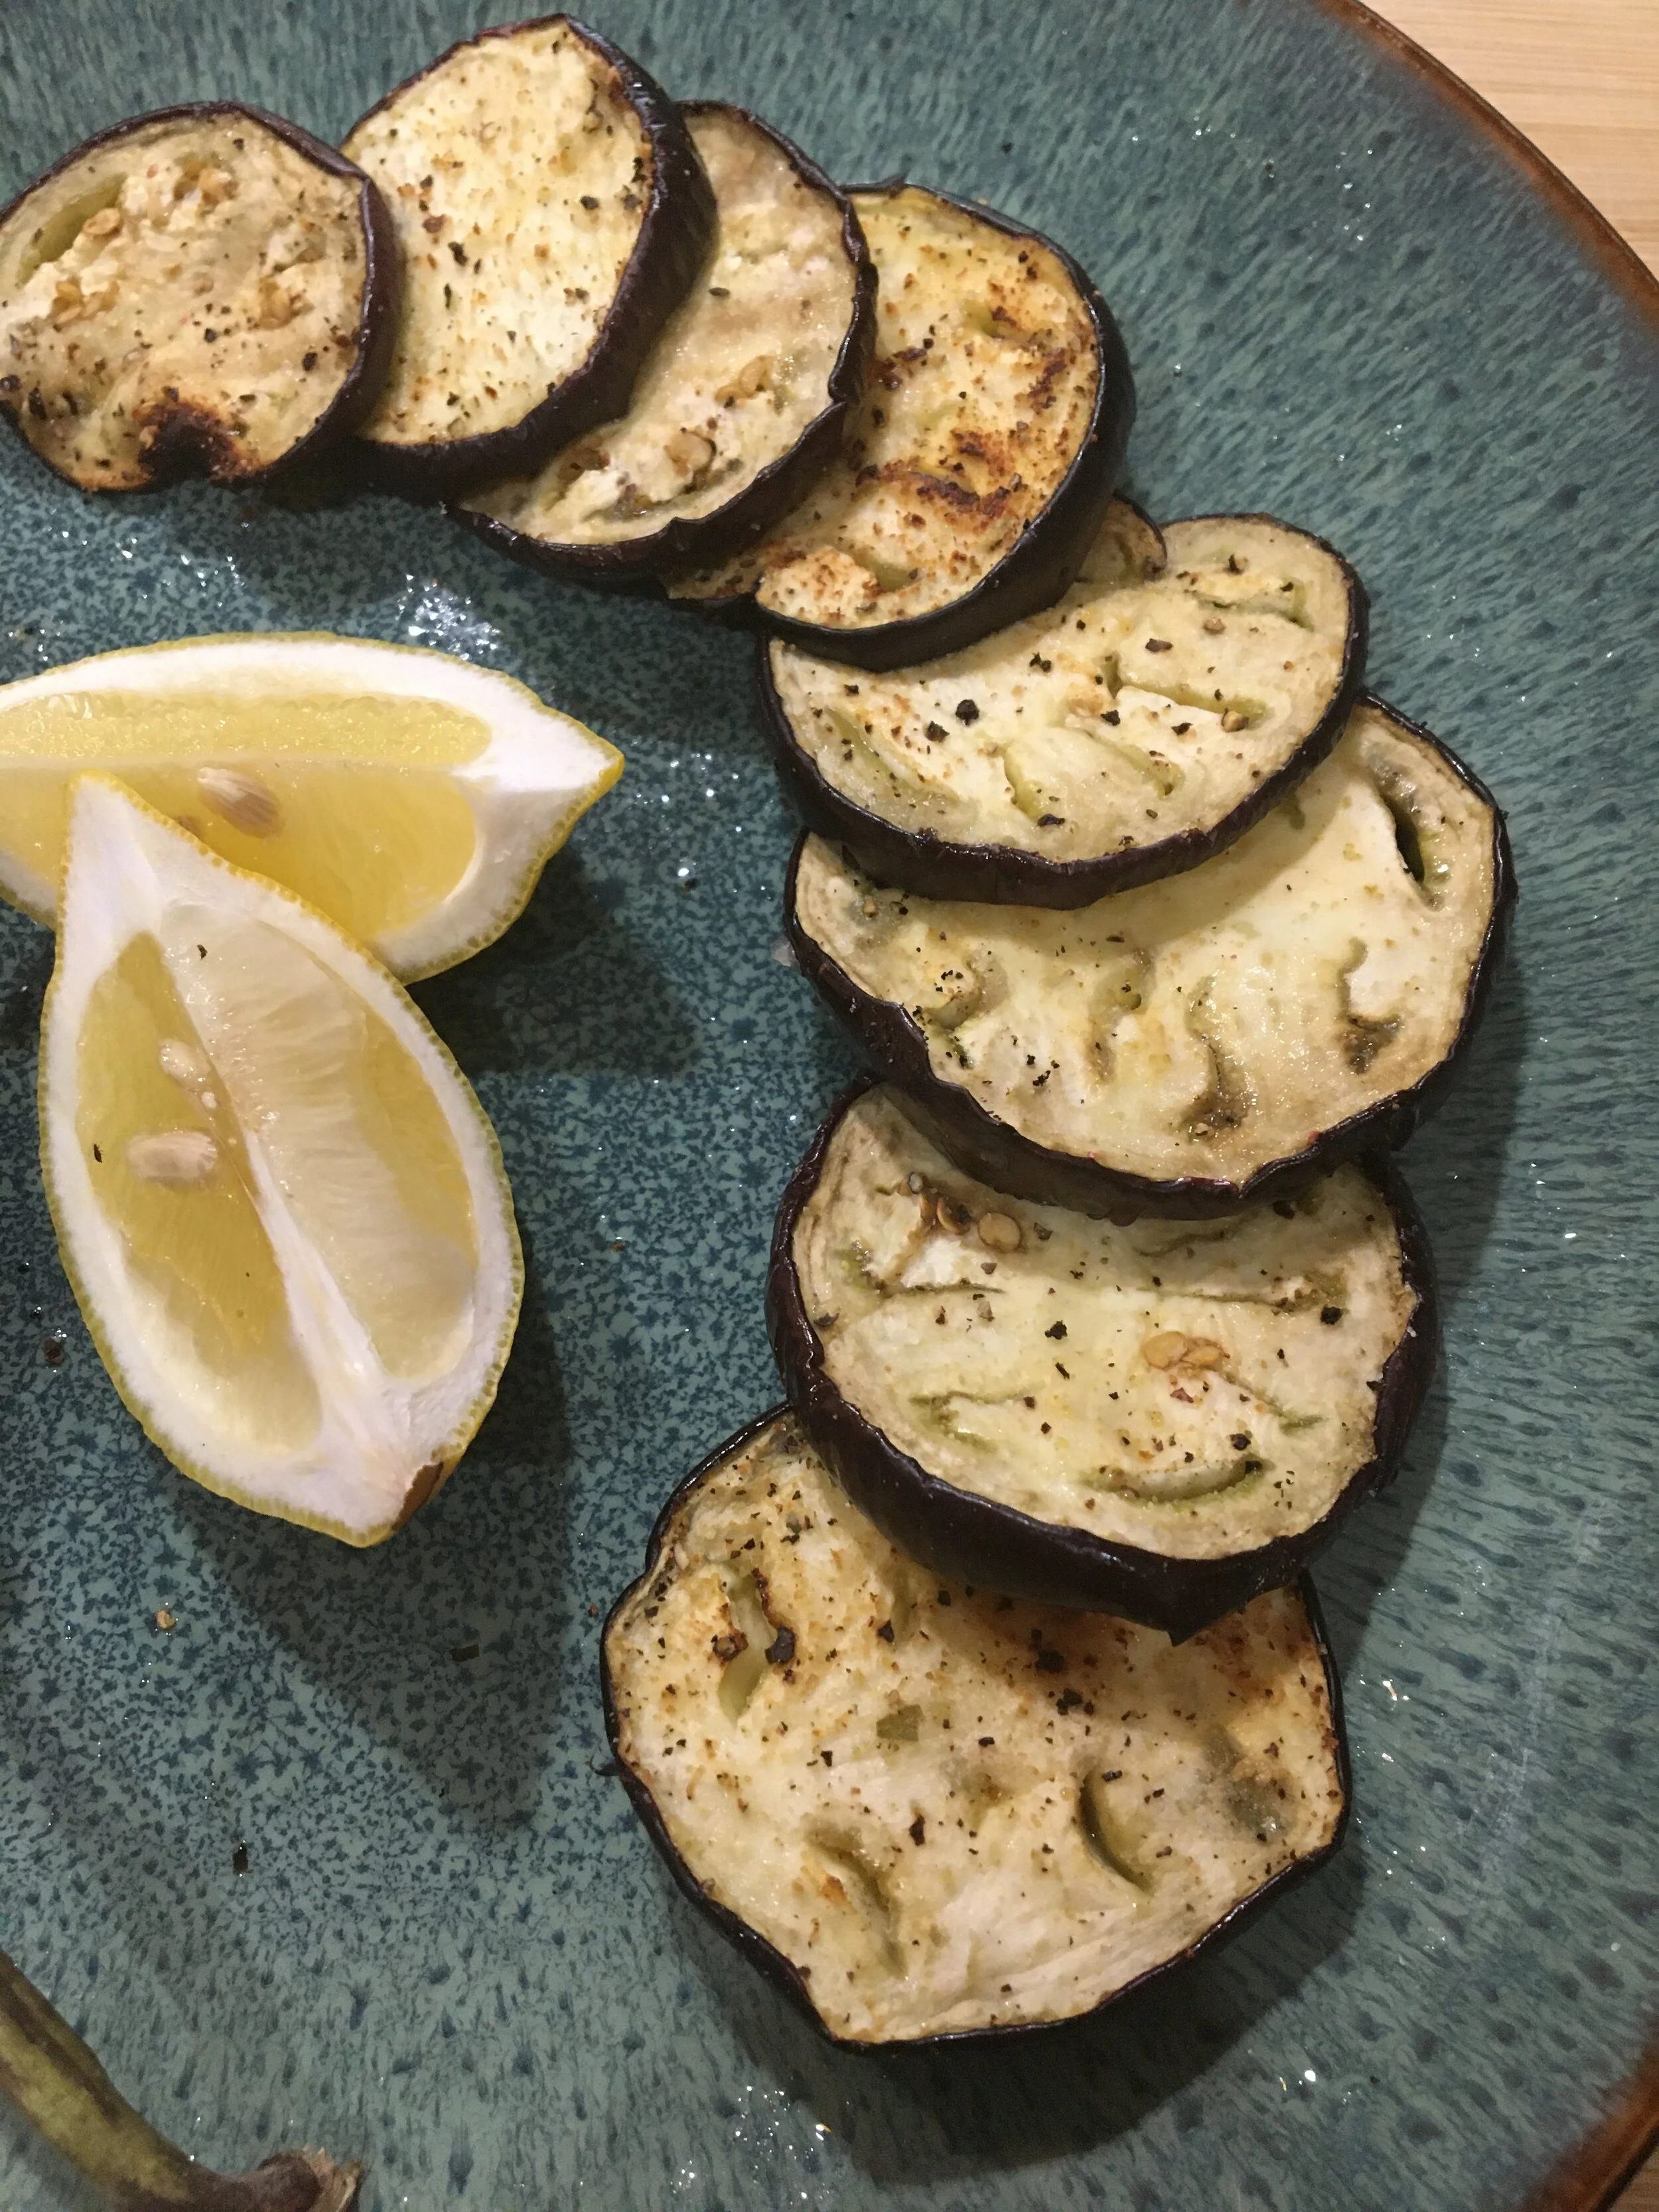
    Sautéing Vegetables

    **Note- Many softer vegetables or leafy vegetables can be cooked using this method. The vegetables you choose will determine how long they need to cook before they are tender, but generally, most vegetables will take less than 10 minutes. I used yellow squash and zucchini for this demonstration.

    1. Thoroughly wash, then slice or chop your vegetables into bite-sized pieces.

    2. Place a skillet on the stove burner and heat on medium heat. Once pan is warmed, add enough olive oil to the pan to coat the bottom.

    3. Add your vegetables to the skillet and stir to coat them in oil. Add seasoning of your choice and stir. I typically use salt, pepper, and garlic powder.

    4. Stir occasionally while the vegetables are cooking.

    5. Once the vegetables are tender and slightly browned, they are finished.

    Searing A Roast

    **Note- Keep in mind that searing is not intended to actually cook the roast. It is a method of cooking that is used to help keep the roast moist and prepares it to be cooked by braising/pot roasting/slow cooking it. A boneless beef shoulder roast was used for this demonstration.

    1. Season the roast with salt and pepper or any other seasonings you prefer.

    2. Place a heavy skillet or cast iron pan on the stove burner on medium-high heat. Once the pan is hot, add 1-2 tablespoons of oil to the pan.

    3. Add your roast to the pan and let it sear on one side for about 5-7 minutes or until that side has a caramelized, brown crust on it.

    4. Use tongs to turn the roast over to the other side and sear it for 5-7 minutes or until that same brown crust has formed.

    5. The roast is now ready to be transferred to a slow-cooker or dutch oven type pan for pot roasting.

    Cutting Paysanne

    **Note- Cutting paysanne means to cut vegetables into small, thin squares about the size of a Scrabble tile. Harder vegetables like potatoes and carrots are popular choices for this cutting technique. The small, thin size can greatly decrease cooking time if you’re adding them to a soup, and radishes cut paysanne make a nice addition to salads.

    Watching the video is highly recommended since the instructions might make this cut seem difficult, but it is much easier than the instructions sound. The best way to picture it is to imagine that you are cutting a vegetable into the same shape as a stick of butter, but smaller, with ½ in sides. Then when you slice to make the paysanne, think of it as cutting thin pats of butter from your miniature butter stick. A daikon radish was used for this demonstration.

    1. Thoroughly wash, then peel the vegetable you plan to use. Place the vegetable on a cutting board, and trim off the short ends of the vegetable so that they are flat.

    2. Begin cutting lengthwise to “square-off” the first side of the vegetable. (The goal is to end up with all sides of the vegetable being flat.) Cut the other round sides off so that you have the same shape as a stick of butter.

    3. If you used a carrot the sides of this piece should already be about ½ in wide now and you are ready for step 5.

    4. If you used a potato or other large vegetable, this one large piece can now be cut lengthwise to form smaller sticks with ½ in wide sides.

    5. Cutting from the square end, you can now slice the sticks into little squares that are about 1/8th of an inch thick. Think thin, but not paper thin or they might completely dissolve when cooked.

  • Roasted Eggplant

    Roasted Eggplant

    4 servings | Prep Time 15 minutes | Total: 1 hour

    Ingredients

    • 1 medium eggplant

    • Extra virgin olive oil or whichever oil you prefer

    • Salt and pepper

    • Garlic powder

    • 1 lemon

    • Tomato Basil sauce or a preferred pasta sauce (optional)

    • Parmesan cheese (optional)


    Directions

    1. Wash hands before starting as well as the eggplant

    2. Preheat oven to 400 degrees F and line a pan with parchment paper or a nonstick spray. 

    3. Cut top of the eggplant off then bottom part of the eggplant as well. 

    4. Cut the remaining eggplant into 1-inch slices. 

    5. Place the slices of eggplant on a plate lined with paper towel. 

    6. Sprinkle a vigorous amount of salt on the top and bottom of each slice. Remember this is not for seasoning this is to help dry out the eggplant so it’s easier to cook. 

    7. Let the eggplant sit for at least 30 minutes to an hour.

    8. After 30 minutes or an hour take a paper towel and blot off the excess moisture on the eggplant slices. 

    9. Grab your pan and place the eggplant slices on it. 

    10. Pour your olive oil (or whichever oil you prefer) into a small bowl. 

    11. Take a napkin and dip it into the olive oil and rub it on the tops of the eggplant slices. 

    12. Sprinkle salt and pepper on the tops of the eggplant slices. 

    13. Sprinkle garlic powder on the tops of the eggplant as well. 

    14. Flip the eggplant slice and repeat steps 10-13. 

    15. Place the eggplant slices into the oven for between 20-30 minutes.  The slices should be a medium brown on top. 

    16. Squeeze lemon juice on the tops of them and you’re ready to go! Enjoy!

    17. (Optional) Another way to season these eggplant slices is to take a spoon full of tomato basil sauce (or whichever pasta sauce you prefer) and place it on each eggplant slice. Drizzle some parmesan cheese on the tops as well and that’s it! Enjoy!

    Nutrition Facts per 1 serving: 339 Calories, 20g Carbohydrates, 5g Protein, 28g Fat

    Inspired by allrecipes: Olive Oil Roasted Eggplant with Lemon; Prepared by Kalea Moch, UTMB Student Nurse, June 2020

    Watch the video tutorial here!

  • Black Beans and Rice Stuffed Tomatoes

    Serves 6

    Ingredients:

    • 6 large tomatoes  

    • 1 cup shredded Monterey jack cheese (or any cheese
      available)

    • 2 tablespoons extra virgin olive oil

    • 1 cup Jasmine rice (or any rice you have; use with 4 cups of water)

    • 2 cups of black beans (use with 5 cups of water)

    • 2 garlic cloves

    • 1/8 teaspoon paprika

    • 1 teaspoon salt

    • 1 teaspoon garlic powder

     (Serene, 2018). Finished look
    (Serene, 2018). Finished look

    Optional toppings:

    • Sour cream

    • Green onions

    • Fresh cilantro

    Directions:

    1. Turn heat on medium and add oil to pan.

    2. Add rice to pan and lightly brown rice in oil.

    3. Pour in 4 cups of water into the pan, while adding salt and garlic powder.

    4. Bring to a boil and then turn heat to low

    5. Simmer for 25 minutes.

    6. Using another pan, bring to a boil with the 5 cups of water

    7. After boiling, add beans, garlic cloves, paprika, and salt.

    8. Let beans boil for 40 minutes.

    9. While the rice and beans are cooking, cut tops off the tomatoes and scoop out seeds and insides.

    10. Place tomatoes on large baking dish and preheat oven to 425 F°

    11. When the rice and beans are cooked, combine in one pan and add cheese and stir.

    12. Add about 2 tsp of the mixed rice and beans into the tomatoes.

    13. Bake for 15-20 minutes until tomatoes are softened.

    14. Sprinkle with additional cheese if desired and bake for another 3-4 minutes until cheese is melted.

    15. Remove from the oven and enjoy! (add green onions, cilantro, and sour cream if desired)

    Inspired by www.houseofyum.com. Prepared by Lourdes Sosa, Sarah Guarisco, and Ruba Ansari. UTMB Nursing Students; July 2020.

    Serving size: 1 stuffed tomato

    340 calories, 10g fat, 17g protein, 46g carbohydrates, 2g fiber, 2g sugar, 5g added sugar, 1200 mg sodium.

  • Oven “Fried” Okra

    Oven “Fried” Okra

    Serves 8 (serving size 3/4 cup)

    Ingredients

    • 1 pound fresh okra

    • 1 cup yellow cornmeal

    • 1 large egg

    • 3/4 cup buttermilk

    • 1 & 1/2 teaspoons blackened seasoning (or any seasoning of your choice)

    • 2 tablespoons canola oil


    Directions

    1. Preheat oven to 450°F with baking sheet in oven, & thoroughly wash okra pods. (The stem caps don’t have to be cut off, but can be if you prefer.)

    2. Gently smash the okra with a meat mallet or rolling pin. 

    3. Whisk together buttermilk and egg in a bowl. Add okra; let soak for 3-5 minutes. 

    4. Combine cornmeal and blackened seasoning in a shallow dish; roll okra in cornmeal mixture to coat the pods in a thin, even layer. 

    5. Add canola oil to hot sheet pan and carefully tilt the pan to coat evenly.

    6. Place okra in a single layer on the pan and put into the pre-heated oven.

    7. Bake until crisp, which should be approximately 30 minutes.

    8. Be sure to turn the pods over with a spatula halfway through the baking time for even browning. 

    9. Once the okra has finished baking, you can transfer it to a serving dish or individual plates ,and enjoy.

    Nutritional Information (per serving): 142 calories, 21 g carbohydrates, 4 g protein, 4 g fat, 2 g fiber, 8% daily value of calcium, 5% daily value of potassium

    Inspired by Pam Lolley for Cooking Light. Prepared by Manuel Leal, Allyson Omiwade, and Sheena Rimato, UTMB SON Students, July 2020

    Watch the video tutorial here!

  • Philly Cheesesteak Stuffed Peppers

    Philly Cheesesteak Stuffed Peppers

    Serves 6

    Ingredients:

    • 3 large bell peppers or 6 smaller ones (any color), halved, seeded, and ribs removed

    • 1 Tbsp olive oil

    • 1 yellow onion

    • 8 ounces mushrooms, sliced

    • 1 pound steak (flank, rib eye, sirloin) very thinly sliced

    • salt and pepper to taste

    • 12 slices provolone cheese

    • 1 Tbsp chopped parsley


    Directions:

    1. Preheat the oven to 400 degrees. Place the peppers cut side up in a baking dish and season with salt and pepper. (I used smaller peppers so I decided not to cut them in half).

    2. Bake for 20 minutes.

    3. While peppers are baking, prepare the cheesesteak filling. Heat the olive oil in a large pan over medium high heat.

    4. Add onions to the pan and cook for 4-5 minutes or until onions have softened. Add the mushrooms and cook for an additional 4-5 minutes or until vegetables are browned and tender. Season with salt and pepper to taste.

    5. Season the steak with salt and pepper to taste. Add the steak to the pan and cook for 3 minutes or until just done.

    6. Place one slice of cheese inside each pepper half or half a slice for smaller peppers. Fill each pepper with cheesesteak mixture.

    7. Add another slice of cheese on top of each pepper.

    8. Broil the peppers for 3 minutes or until cheese is golden brown and melted.

    9. Sprinkle with parsley and serve.

    Nutrition Facts per 1/2 pepper: 350 Calories, 7g Carbohydrates, 32g Protein, 20g Fat

    Inspired by dinneratthezoo: Philly Cheesesteak Stuffed Peppers; Prepared by Hillary Swanson, UTMB Dietetic Intern, June 2020


  • Cinnamon Raisin French Toast

    Serves 3

    Ingredients:

    • 2 eggs (I used Spring Hill Farms farm-fresh eggs)

    • 1/4 c and 2 Tbsp milk (I used Fairlife 2% milk)

    • 2 Tbsp and 1 tsp brown sugar

    • 1 tsp vanilla extract

    • 1/4 tsp ground nutmeg

    • 1 tsp cinnamon

    • 6 slices Galveston Bread Co. cinnamon raisin bread

    Directions:

    1. In a large mixing bowl, beat the eggs. Add the milk, brown sugar, vanilla, nutmeg, and cinnamon.

    2. Soak bread slices in the egg mixture until saturated.

    3. Heat a lightly oiled griddle or frying pan over medium-high heat. Brown slices on both sides (approximately 3-5 minutes depending on heat)

    4. Serve warm, sprinkled with cinnamon or powdered sugar. Top with syrup, fresh fruit, or your favorite fruit spread.

    Nutrition Facts per 2 slices: 265 Calories, 42g Carbohydrates, 10g Protein, 7g Fat

    Inspired by allrecipes: French Toast II; Prepared by Hillary Swanson, UTMB Dietetic Intern, June 2020

     These are the ingredients to make Cinnamon Raisin French Toast. I used bread from Galveston Bread Co. and eggs from Spring Hill Farms. Both are linked above.
    These are the ingredients to make Cinnamon Raisin French Toast. I used bread from Galveston Bread Co. and eggs from Spring Hill Farms. Both are linked above.
     Soak your bread into egg mixture and place on medium-high frying pan or griddle. Cook both sides until golden brown.
    Soak your bread into egg mixture and place on medium-high frying pan or griddle. Cook both sides until golden brown.
  • Parmesan Baked Eggplant

    Serves 4

    Ingredients:

    • 1 large eggplant (or a few smaller ones)

    • 6 Tbsp olive oil

    • 1 cup breadcrumbs*

    • 1/4 cup Parmesan cheese

    • 1/4 tsp paprika

    • 1/2 tsp garlic powder

    • 1/2 tsp Italian seasoning

      *I used Italian herb bread from Galveston Bread Co. to make my own bread crumbs

      • Toast bread until crisp, let cool, food process until fine crumbs form


    Directions:

    Preheat oven to 400 degrees F.

    1. Start by prepping the eggplant:

      • Wash the eggplant and trim off the green end, you can peel the skin if you like.

      • Slice the eggplant into 1/2” disks. Place all disks in colander or on cooling rack set over a baking sheet.

      • Sprinkle with salt and let sit for at least 30 minutes. Blot excess moisture off with paper towel.

      This will allow excess moisture to be extracted from the eggplant, preventing it from releasing during cooking. It also helps to cut the bitterness of the eggplant.

    2. Next, mix breadcrumbs, spices, and Parmesan in a mixing bowl. In a separate bowl, add olive oil.

    3. Dip each eggplant into the olive oil first and then directly into the breadcrumb mixture. Place disks on an aluminum foil or parchment paper lined baking sheet.

    4. Bake at 400 degrees F for 15 minutes, then flip each disk and bake for an additional 7 minutes or until eggplant is golden brown and the breading is crispy.

    5. Serve as side dish, appetizer, or use in eggplant Parmesan. Pairs great with red sauce for dipping!

    Nutrition Facts per serving: 265 Calories, 13g Carbohydrates, 3g Protein, 23g Fat

    Inspired by Crunchy Creamy Sweet Blog; Prepared by Hillary Swanson, UTMB Dietetic Intern, June 2020


    Step 1: Wash eggplant and trim off green end. This video shows how to cut the eggplant into 1/2” disks.

     These are the ingredients you will need to prepare this dish, minus the bread crumbs. They were toasting in the oven when I took this picture.
    These are the ingredients you will need to prepare this dish, minus the bread crumbs. They were toasting in the oven when I took this picture.
     Step 2: Mix breadcrumbs, spices, and cheese in one bowl. Put olive oil in a separate bowl.
    Step 2: Mix breadcrumbs, spices, and cheese in one bowl. Put olive oil in a separate bowl.
     Step 3: Coat eggplant disks first in olive oil, then breadcrumb mixture and place on aluminum foil covered sheet pan.  Bake at 400 degrees F for 15 minutes. Flip disks and cook for another 7 minutes.
    Step 3: Coat eggplant disks first in olive oil, then breadcrumb mixture and place on aluminum foil covered sheet pan. Bake at 400 degrees F for 15 minutes. Flip disks and cook for another 7 minutes.
  • Garlic Parmesan Spaghetti Squash

    Serves 2

    Ingredients:

    • 1 spaghetti squash, cooked

    • 1/2 c shaved parmesan cheese

    • 1 teaspoon garlic salt

    • salt and pepper to taste

    • Basil to taste (I used 4 fresh leaves chopped)

    • Oregano to taste (I used a few sprinkles)

     Final Product

    Directions:

    1. Thoroughly wash spaghetti squash

    2. Cut in half (carefully) and scoop out all seeds

    3. Use a fork to poke holes on outside of squash

    4. Bake at 400 degrees for 25-35 minutes depending on size of squash (bigger squash, cook longer)

    5. Using a fork, scrap the inside of spaghetti squash out and put in bowl

    6. Add parmesan cheese, garlic salt, salt, pepper, basil, and oregano

    7. Stir all together and enjoy!

    *Add grilled chicken for added protein!

    Nutrition Facts (per 1 c serving): 150 Calories, 13g Carbohydrates, 8g Protein, 7g Fat

    Prepared by Hillary Swanson, UTMB Dietetic Intern, June 2020

     Steps 1-4. Wash, cut and poke holes in squash. Bake at 400 degrees for 25-35 minutes.
    Steps 1-4. Wash, cut and poke holes in squash. Bake at 400 degrees for 25-35 minutes.
     Step 5. Using a fork, scrape out the inside of the squash.
    Step 5. Using a fork, scrape out the inside of the squash.
     Steps 6 and 7. Add final ingredients and enjoy!
    Steps 6 and 7. Add final ingredients and enjoy!